Installation
- Prerequisites
- Windows prerequisites (do this first)
- Windows (PowerShell)
- Linux (bash)
- macOS (Terminal)
- Install the toolchain
- Packaged builds
- Next
Prerequisites
Node.js (LTS). Everything else — Claude Code, Beads, Dolt, jq, graphify, cocoindex-code, Ollama — aiflow can install for you.
On Windows, do the Windows prerequisites first.
Windows prerequisites (do this first)
Set this up before you clone aiflow. Skipping it is the most common reason a Windows setup fails: a native build gets triggered, no C/C++ toolchain is present, and something tries to pull in MinGW/MSYS2. Don’t go down that road — use WSL instead.
Two different shells are involved on Windows, and they do different jobs:
| Shell | What runs there |
|---|---|
| PowerShell + Git Bash | aiflow itself (bin/aiflow, lib/*.sh), the hooks, the .aiflow/* helpers |
| WSL (Ubuntu) | anything that compiles native code — gcc/g++/clang, cmake, Python C-extensions, node-gyp |
1. Enable virtualisation in the BIOS/UEFI
WSL2 runs on a lightweight VM, so hardware virtualisation must be on. Reboot into your firmware setup (usually F2, Del, or F10 during boot) and enable:
- Intel:
Intel Virtualization Technology/Intel VT-x(sometimes under Advanced → CPU Configuration) - AMD:
SVM Mode/AMD-V(usually under Advanced → CPU Configuration or OC Tweaker)
Save and reboot. Verify in Windows — Task Manager → Performance → CPU → Virtualization: Enabled, or:
Get-ComputerInfo -Property HyperVRequirementVirtualizationFirmwareEnabled
2. Enable WSL + the Virtual Machine Platform
In an administrator PowerShell:
wsl --install # enables WSL + Virtual Machine Platform, installs Ubuntu, sets WSL2
Reboot when asked. On older Windows builds where wsl --install isn’t available, enable the two
Windows features manually and reboot:
dism.exe /online /enable-feature /featurename:Microsoft-Windows-Subsystem-Linux /all /norestart
dism.exe /online /enable-feature /featurename:VirtualMachinePlatform /all /norestart
wsl --set-default-version 2
3. Install a distribution and start it once
wsl --list --online      # what's available
wsl --install -d Ubuntu  # or Debian, openSUSE, ... — Ubuntu is the default recommendation
wsl -l -v                # must show your distro with VERSION 2
Start it once so it finishes setup and you create your Linux user.
4. Install the build toolchain inside WSL — not MinGW
Inside the Ubuntu shell:
sudo apt update
sudo apt install -y build-essential   # gcc, g++, make, libc headers
Add what your project actually needs on top — g++ comes with build-essential; for other stacks:
| Project type | Also install (in WSL) |
|---|---|
| C / C++ | cmake ninja-build gdb (or clang lld instead of gcc) |
| Embedded / cross-compile | gcc-arm-none-eabi (or your vendor toolchain) |
Python C-extensions, uv-built tools |
python3-dev pkg-config |
Node native modules (node-gyp) |
python3 make g++ |
| Rust | rustup via https://rustup.rs (then cargo) |
Why not MinGW? MinGW/MSYS2 gives you a second, parallel toolchain and package universe next to
Git Bash’s own MSYS runtime. Header/ABI mismatches, PATH collisions between the two sh.exes, and
libraries that assume glibc are routine — and CI runs on Linux anyway, so anything you build under
MinGW is built differently from what ships. WSL gives you the same Linux toolchain as CI, and
Windows can reach it from anywhere via wsl -e <command>.
5. Choose where your project lives
Put a project that compiles native code inside the WSL filesystem (~/projects/..., reachable
from Windows as \\wsl$\Ubuntu\home\<user>\projects). Building across the /mnt/c boundary is
slow, and file permissions/line endings get muddled. Pure PowerShell/Node/.NET projects are fine on
the Windows side.
Windows (PowerShell)
git clone https://github.com/Cyber93de/aiflow.git
cd aiflow
./install.ps1            # creates the aiflow shim + adds bin to the user PATH
aiflow doctor            # works immediately in this window; other terminals: open a new one
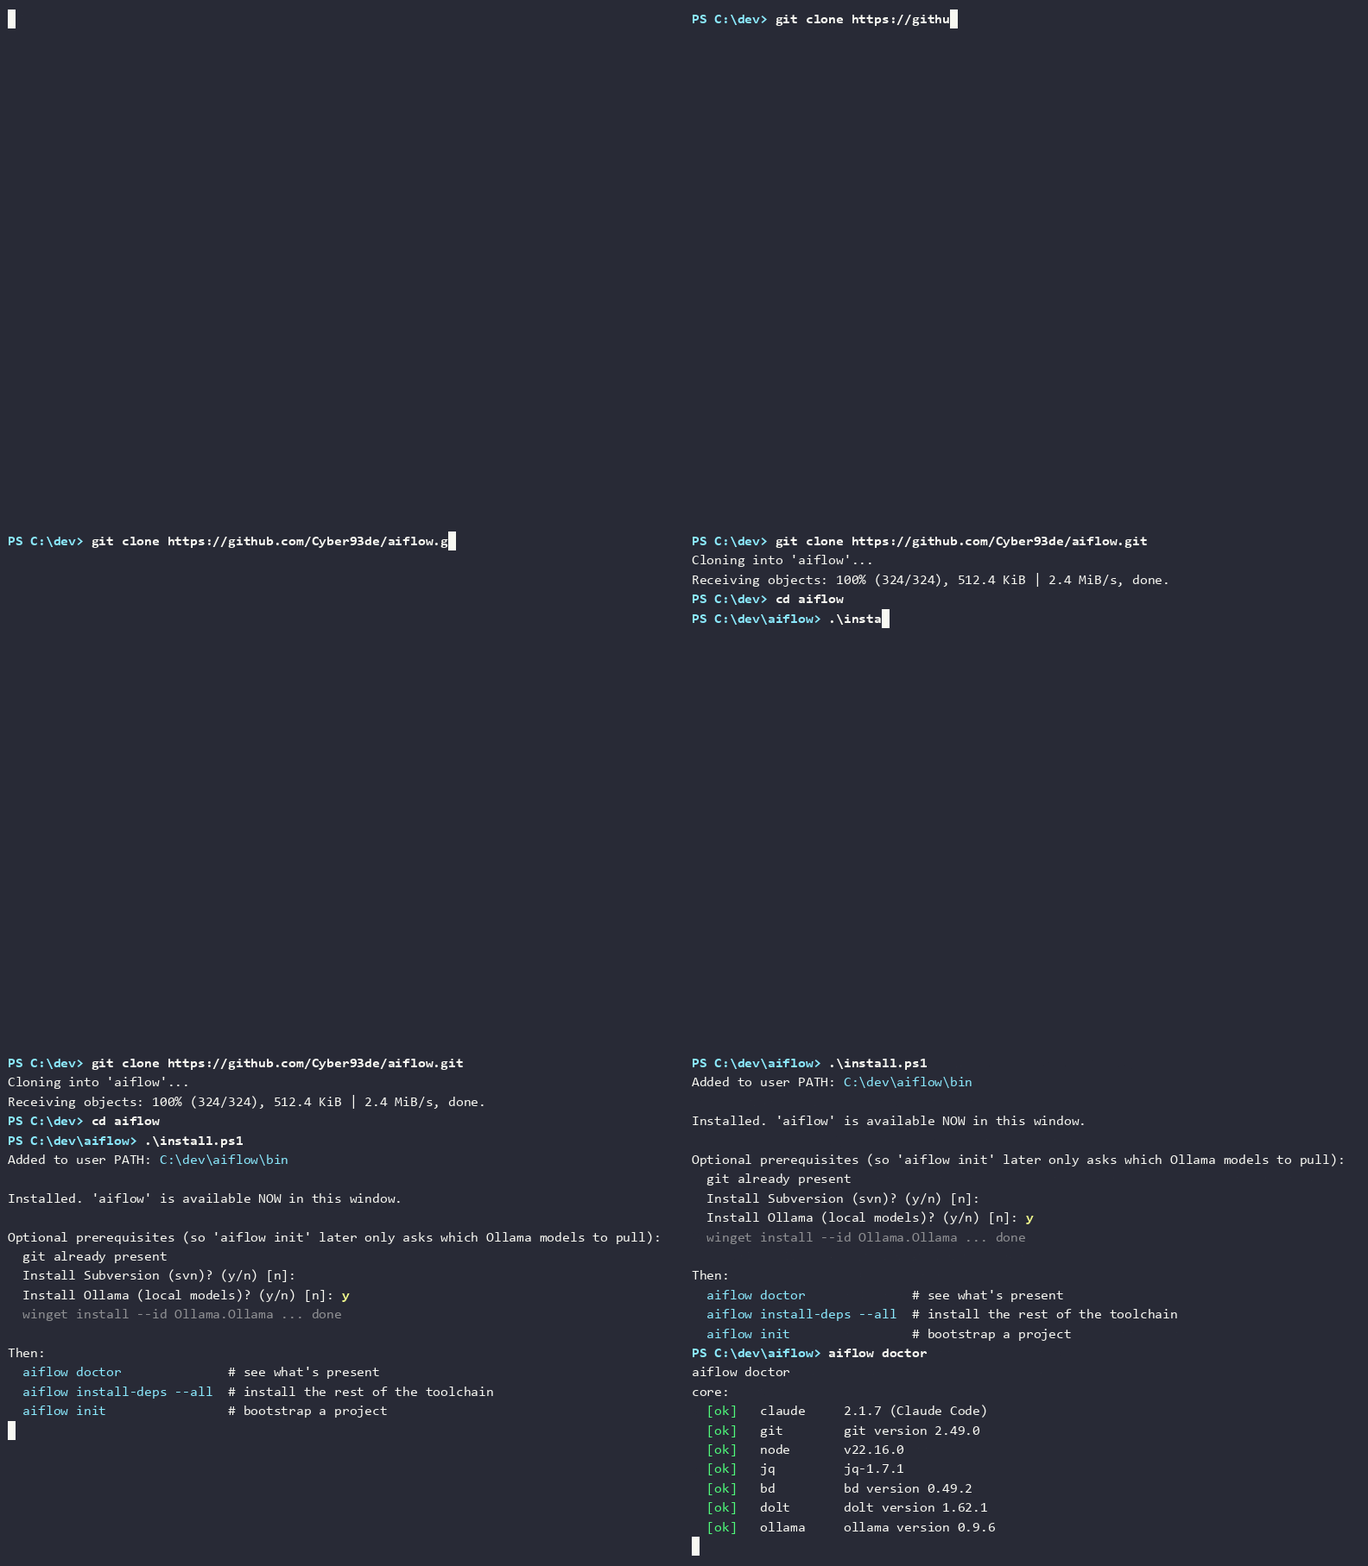
VS Code note: the integrated terminal inherits PATH at launch — fully restart VS Code (or
“Developer: Reload Window”) to pick up aiflow.
Linux (bash)
git clone https://github.com/Cyber93de/aiflow.git
cd aiflow
bash install.sh          # symlinks 'aiflow' onto your PATH (~/.local/bin or /usr/local/bin)
aiflow doctor
macOS (Terminal)
git clone https://github.com/Cyber93de/aiflow.git
cd aiflow
bash install.sh          # same as Linux; optional tools install via Homebrew when present
aiflow doctor
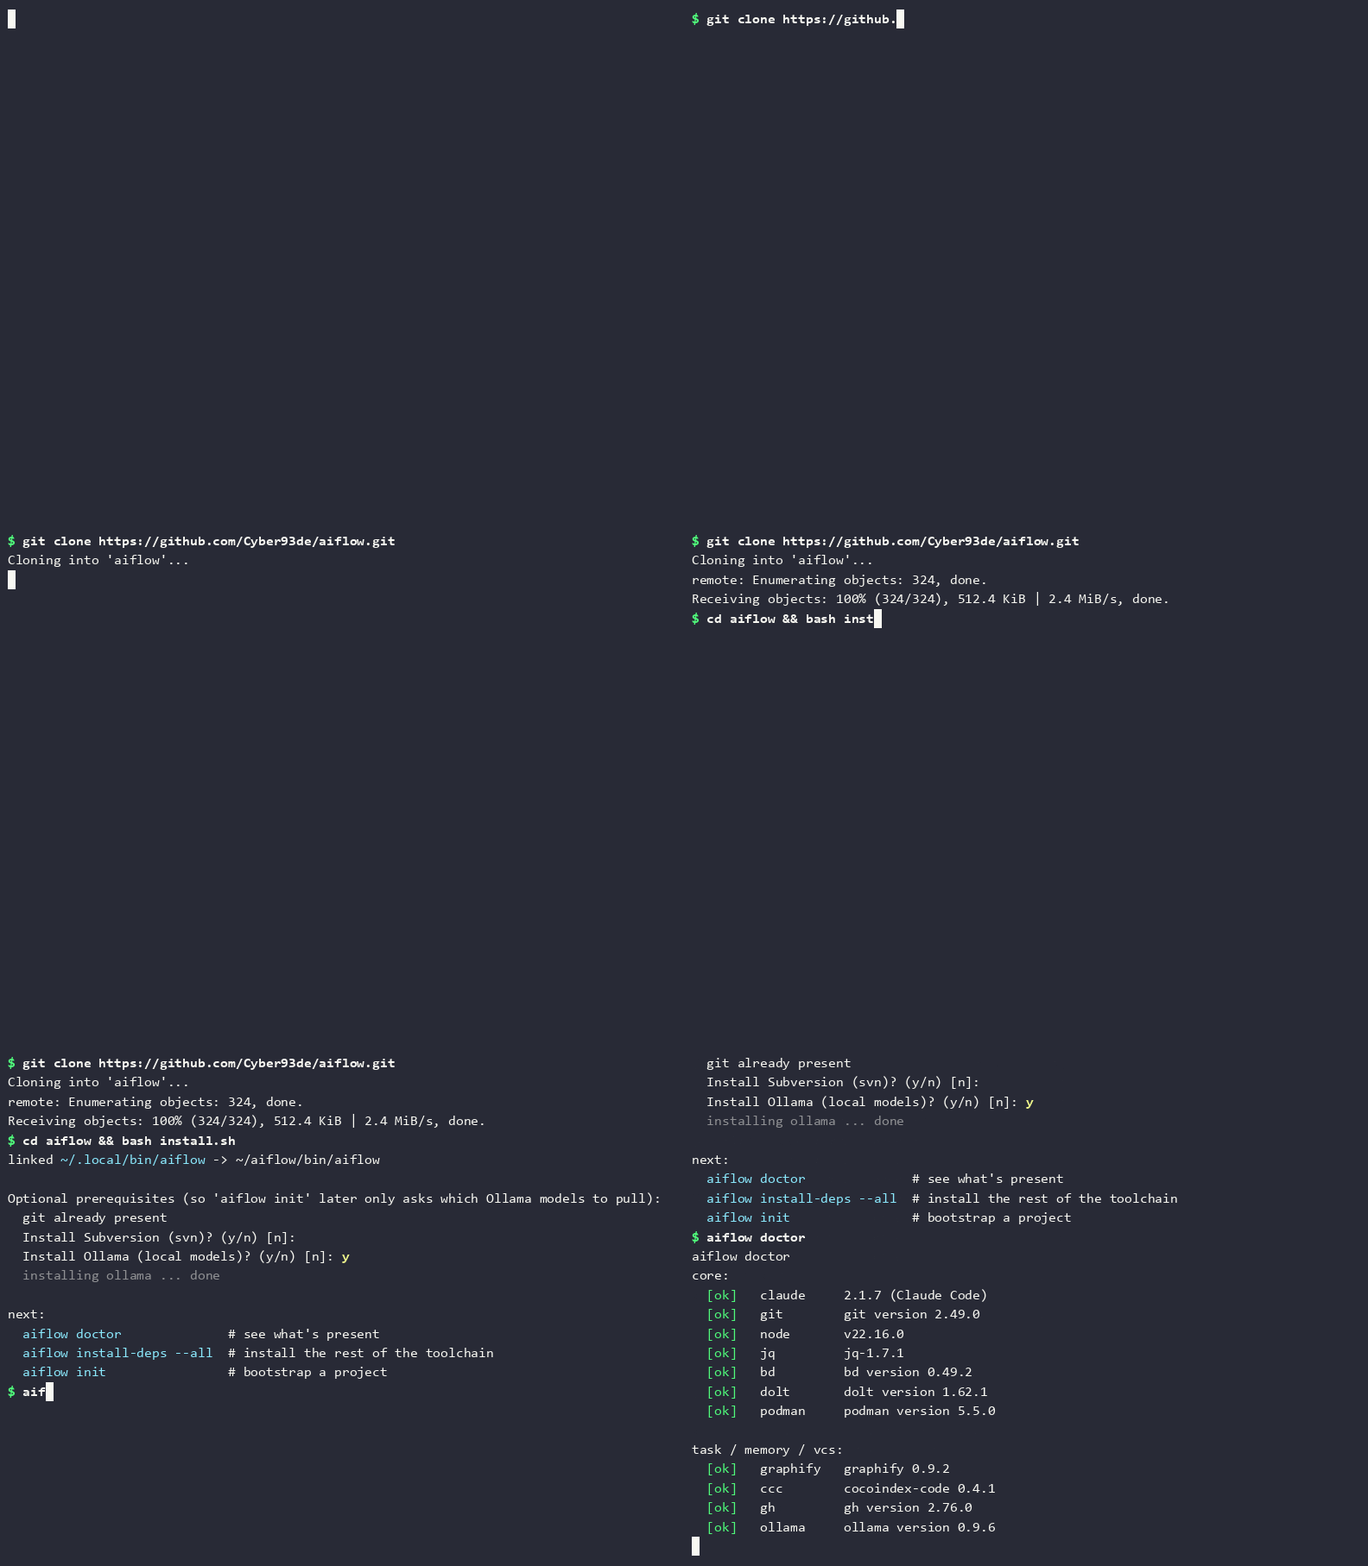
On every OS the installer asks once whether to also install git, Subversion (svn), and
Ollama (via winget/scoop on Windows, Homebrew on macOS, the system package manager or official
scripts on Linux). That way a later aiflow init only has to ask which Ollama models to pull.
Install the toolchain
aiflow doctor               # what's present / missing (+ per-project summary)
aiflow install-deps --all   # install the full toolchain (or run 'aiflow init', which offers it)
install-deps installs only what your project config enables; --all installs everything. It is
user-space and never installs a container engine — install Podman or Docker yourself if you want
the GitHub MCP or headless container runs.
Packaged builds
Prebuilt archives (Linux/macOS/Windows) are attached to each GitHub release.
Next
- Quick Start — build your first project.
- Command reference · Configuration